

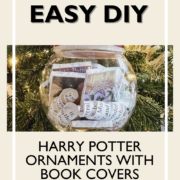
Learn how to make easy DIY Harry Potter ornaments for a magical Christmas tree with this craft tutorial featuring the Harry Potter book covers. They make great gift ideas or crafts for you and your family to keep at home.
Plus, you can print free PDFs of the tutorial and book covers at the bottom of the post to help you make it even more easily at home yourself!
As a book lover and Harry Potter fan, I’ve been wanting a Harry Potter book ornament for years now, and I finally decided not to buy one, but rather to make my own DIY Harry Potter Christmas ornaments.
I purchased everything for these Harry Potter Christmas decorations from Michaels and Amazon and linked the recommended products within the instructions. And if you want to use my template for the book covers, you can download it at the end of this post.
Let’s make Harry Potter Christmas ornaments!
DIY Harry Potter Ornaments
How do you make Harry Potter ornaments?
With the below tutorial!
Time
- Prep time: 10 minutes
- Active time: 15 minutes
- Additional time: 5 minutes
- Total time: 30 minutes
Materials
- 1 sheet of 8.5″ x 11″ white sticker paper for the printer
- 5″ screw top plastic ornament (or one that opens in half versus via the top)
- 3/8″ ribbon in burgundy (or your favorite Hogwarts house color) (optional)
- Decorative stickable bow to decorate the top of the ornament (optional)
- 1 white foam board
- 1 sheet of 8.5″ x 11″ white cardstock paper
Tools
- Craft knife or scissors
- Glue (I used spray adhesive. Hot glue should also work well.)
Instructions
- Print two copies of miniature-sized versions of all seven Harry Potter book covers on the sticker paper and cut them out. (If you want to use my copy with 2″ book covers, scroll to the bottom of this post and download the template.)
- Print one copy of the first page of Harry Potter and the Sorcerer’s Stone (or whichever book page you choose) on the cardstock. (I found it online.)
- Slice it into strips containing one or two rows of text each.
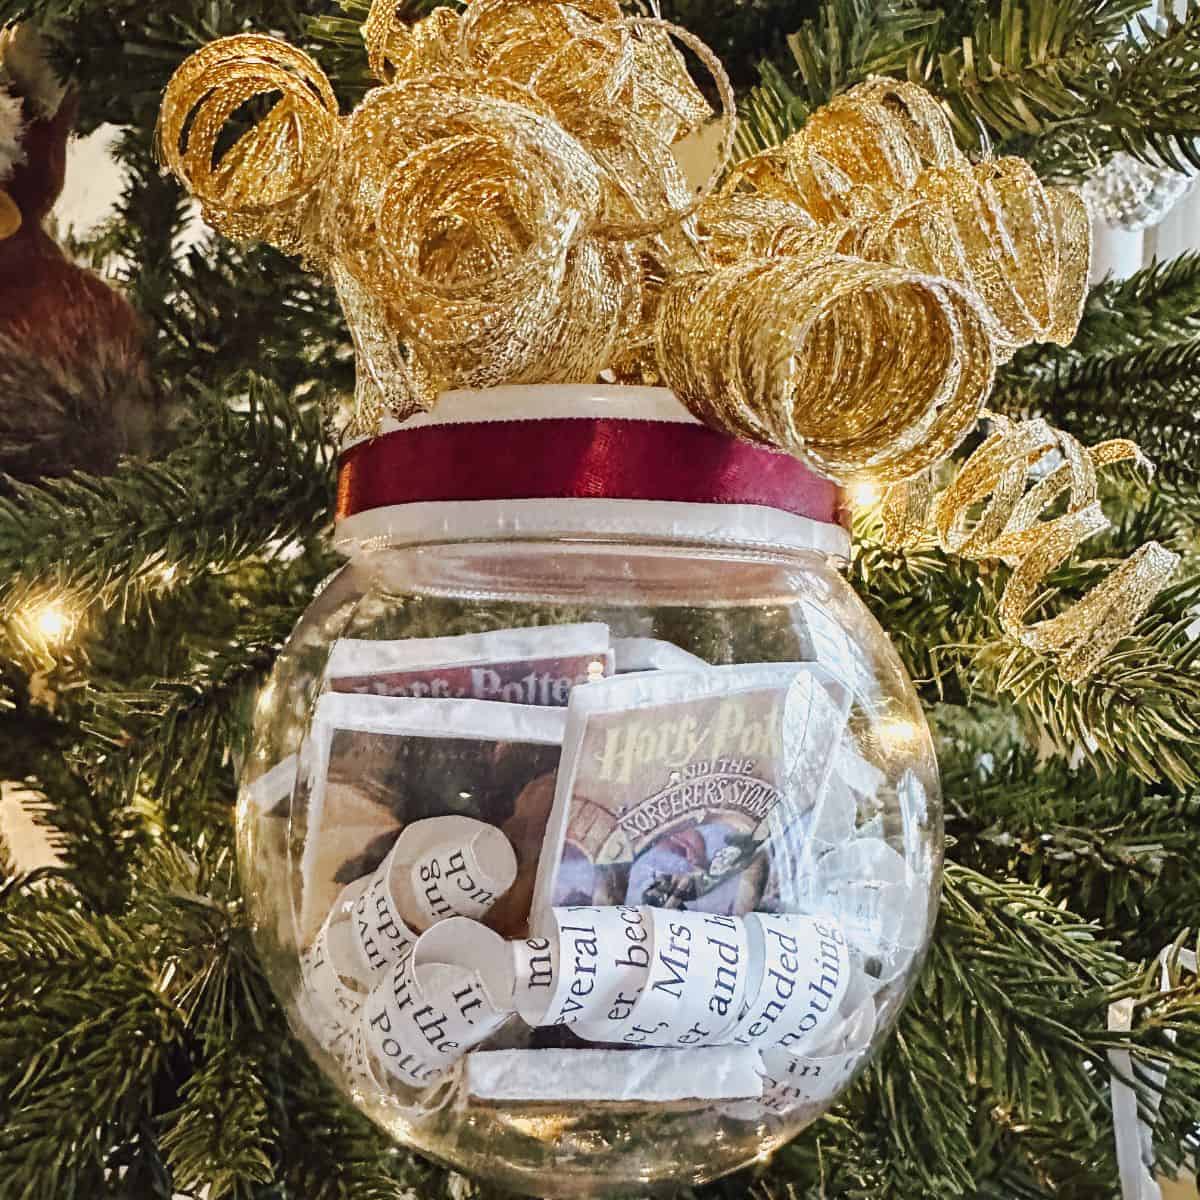
- Stick one copy of all seven book covers on the foam board and cut them out with a craft knife or scissors. If the edges are jagged, trim them. Then, stick the corresponding book covers on the other side of the foam cutouts. This way, no matter what side you are looking at, you will see the front cover of the books.
- Roll the paper strips with your fingers, then pull them apart to form spirals.
- Place everything in the ornament. You can throw it all in and shake it up or arrange the books and fill in the empty spaces with the spirals. Close the ornament.
- If you choose, add some ribbons and bows to make the ornament festive. I chose to affix Gryffindor red ribbon around the lid and stick a Gryffindor gold holiday bow on top. My ornament already came with a loop around the lid to hang it, but if yours does not, you can add one at this time.
- Hang your DIY Harry Potter Christmas ornament on the tree or wrap it up to give it as a gift.
Harry Potter Ornament Printables
Want to take these instructions with you? Download and print them below.
Want to use my template for 2″ Harry Potter book covers? Download and print them below.
Conclusion
These DIY Harry Potter Christmas ornaments are a fun way to celebrate the wizarding world and the holiday season. Enjoy making these quick decorations with the instructions and book covers provided, and feel free to use them as a starting point to inject your own touches, like other Hogwarts house colors, lightning bolt confetti, and so on.
Related Posts
If you liked this festive Harry Potter holiday post, check out these posts: